
Our home is a typical 1989 suburban Colonial style. You know, the kind they built all over the Southeast in the 1970s and ’80s as families looked for expansive homes in manicured subdivisions. The only problem is that a lot of the choices that went into builder-grade 1980s and ’90s homes are no longer functional or stylish.
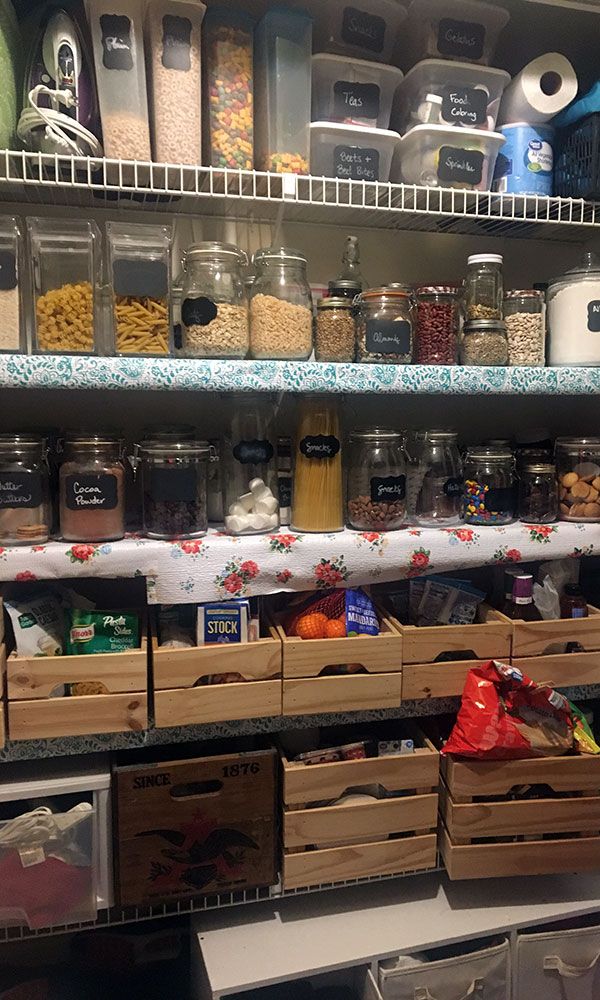
After finding a veritable treasure trove of Cheerios and chocolate chips in the floor behind our sock bins, I decided it was time to overhaul the pantry.
Step 1: Take Inventory of What You Have and What You Need
I’ve been slowly collecting food containers and crates over the years, so I knew I could reuse quite a bit of the actual food storage devices. I just needed a better system for storing and displaying them. The first thing I did was count how many I had of each size jar and crate. Then I measured each to see what heights and depths I would need for my shelves.
Next I decided what the most used items were and started building a plan based around making those high-traffic items the easiest to access. For our family, prepackaged snacks and cereals were the most used by the kids and the building blocks of meals (flour, beans, sugar, etc.) were my most used items. Our pantry is in the same hall area as our laundry space. I wanted to be able to store a clothes basket and all the family socks in the pantry side to keep the walkway clear. Those would go at the bottom on the floor.
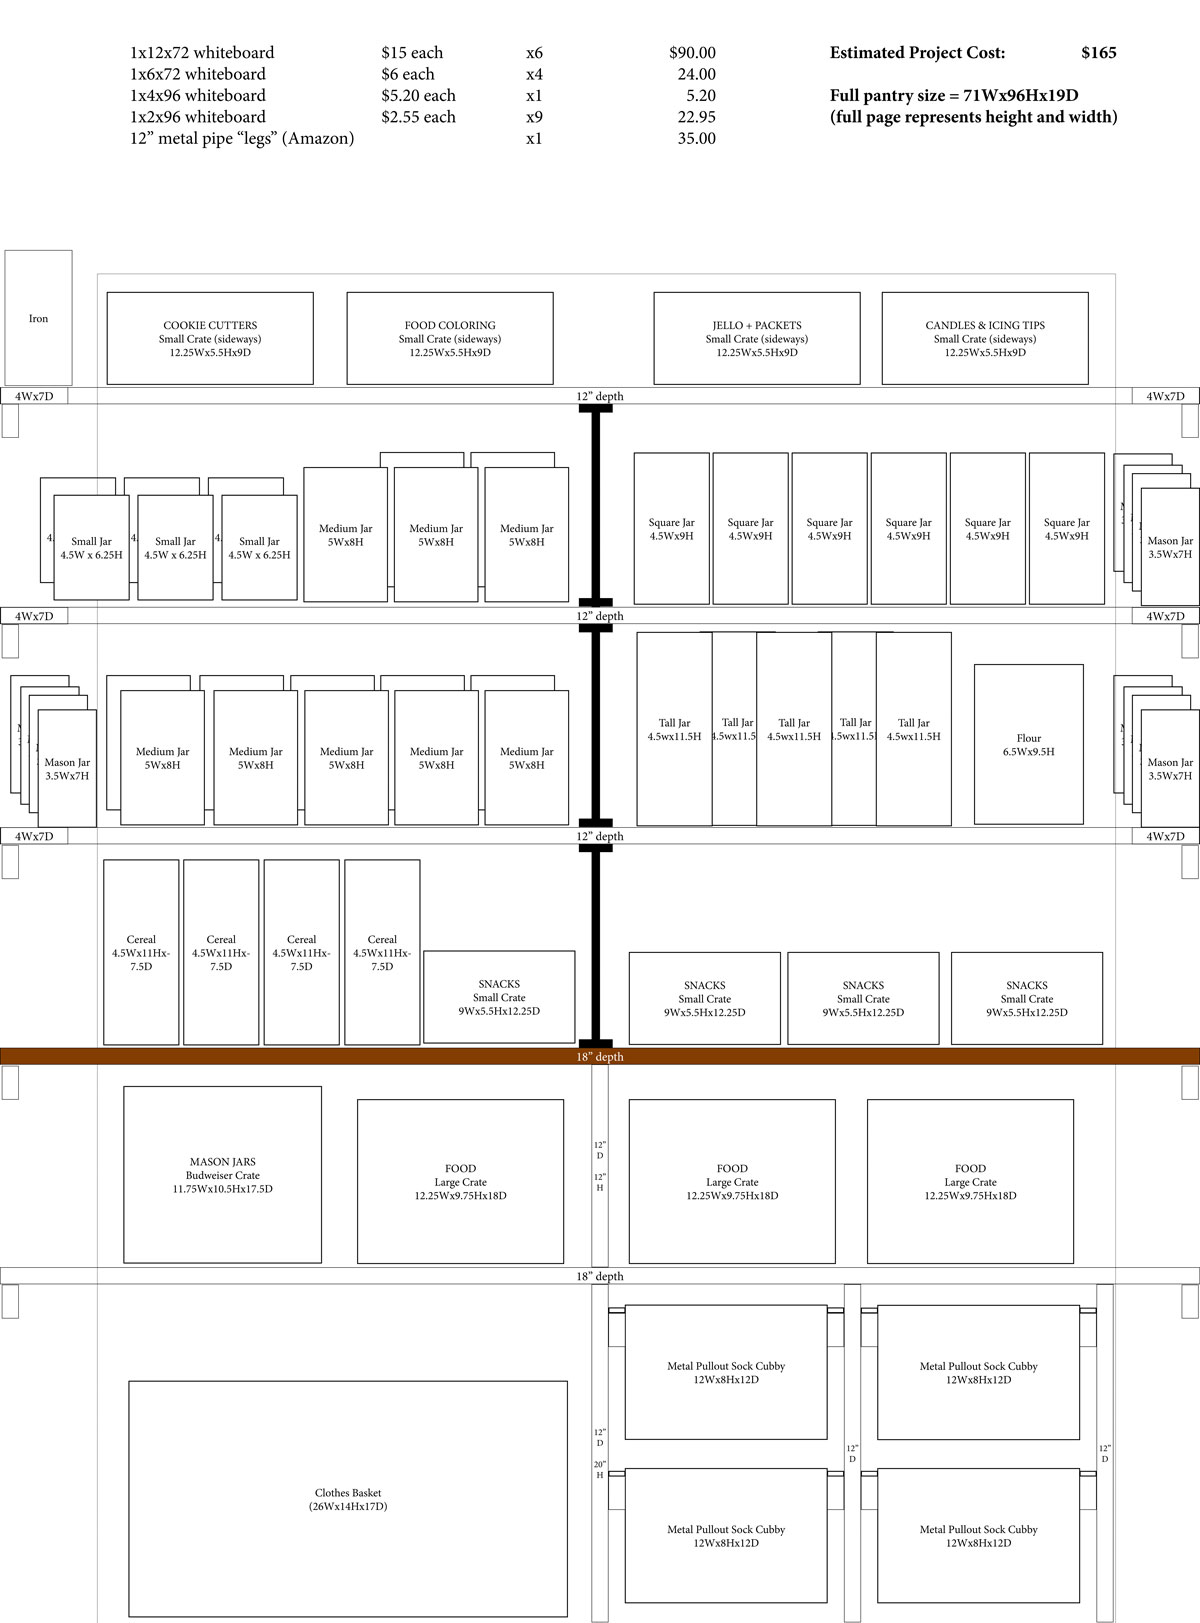
Step 2: Make a Plan
After measuring the space and the containers, I set to work creating a plan for how I wanted the space to work for our family. By having the containers marked on the plan, I could easily see how it would look upon completion and imagine how it would function in our daily lives. For instance, I knew the shelves holding the larger crates would need to be deeper and down low, while the smaller and less-used items could go up high.
With this plan I then made a list of all the lumber I’d need to see it happen. I used Lowes.com to price out what I needed and to check inventory for my local store. This gave me a good working budget. The total project came in around $200.
Step 3: Buy Supplies
If you can get all your supplies in one trip, please by all means do so. I think the universe conspires against this kind of work, though. Also of note, if you know what kind of cuts you need, Lowes will cut your lumber for you. They have signage saying there are limits, but I’ve never had to pay for cuts. Keep in mind they won’t be as caring and clean as if you did them at home yourself, but if you lack a saw this is a great option. Just be sure to pick up some sandpaper to smooth off the cut edges.
You will need a drill, 2″ wood screws (to secure the 1×2″ cleats to the wall on studs), 1.5″ wood screws (to secure shelves to the cleats), sandpaper, a level, painter’s caulk, paint (for the wall and for the shelves) and wood stain / polyurethane (if you choose to have one natural wood shelf to be bougie).
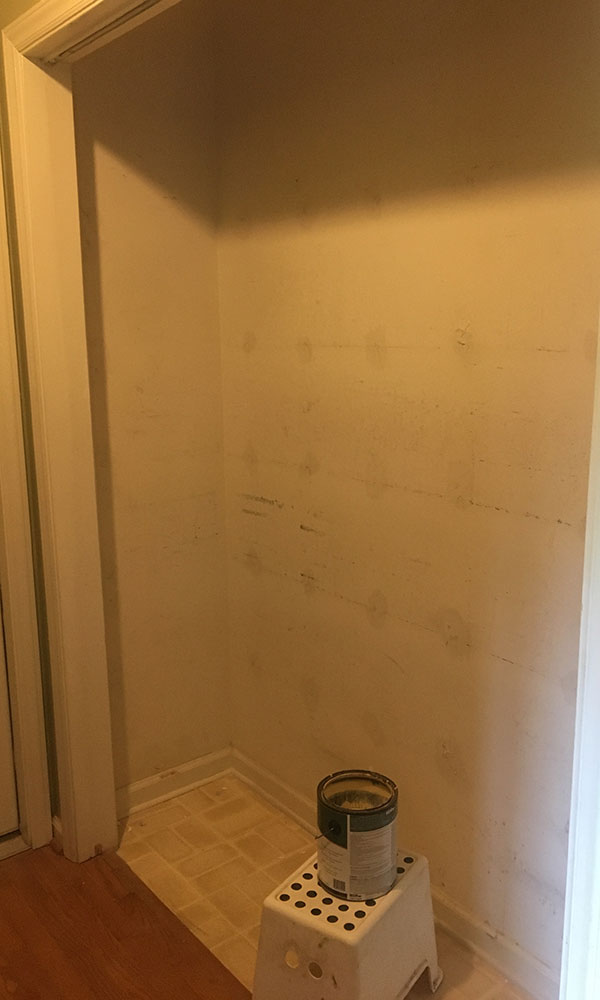
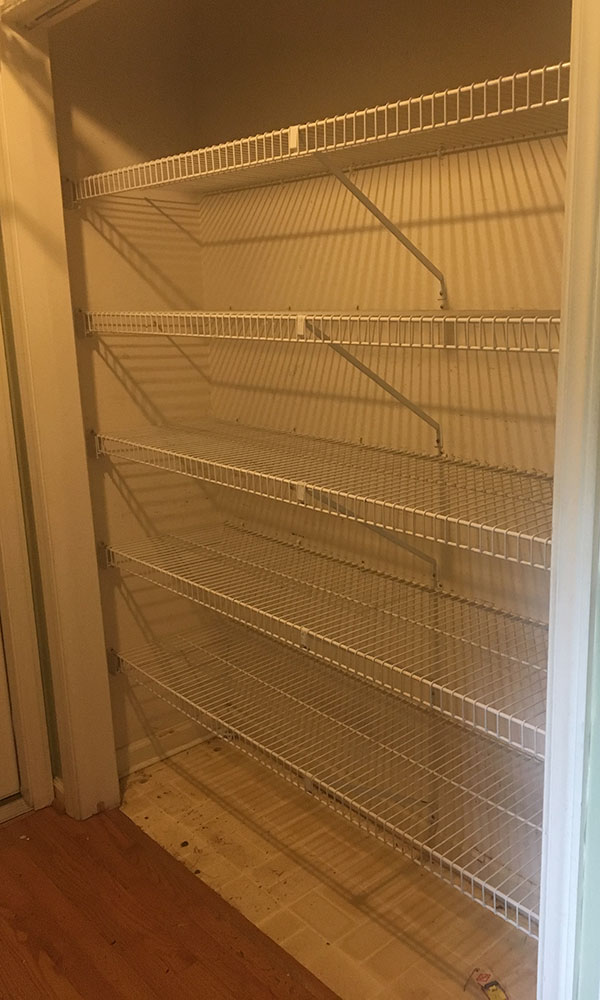
Step 4: Prep the Space
Removing the wire shelving can be tricky if you don’t know how the wall anchors work. Basically they are built to not need studs for support. That means if you try to rip them out you will make GIANT holes in the drywall. You must unscrew each anchor screw then use a hammer claw to gently remove the wall anchor once the screw has been removed. Then you can patch any holes and paint the walls and trim. I chose a semi-gloss paint for the walls to make it easier to wipe clean if there is ever a spill.
Step 5: Prime and Stain
It is easier to paint the shelves before they are installed. The day before installation (or at least 2 days before if you’re staining/sealing any wood), get a primer coat of high-gloss white on the whitewood lumber and let it dry. For the stained wood shelf, I first applied a coat of Minwax red oak stain, then 2 coats of fast-drying polyurethane.
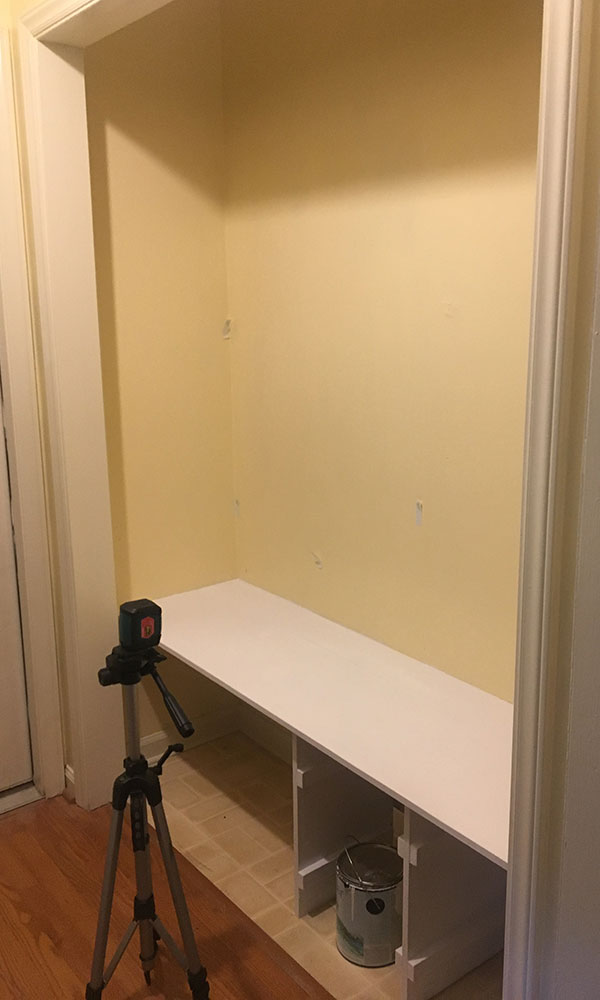
Step 6: Start Building
I used a stud-finder to find each support stud inside the walls, then marked them with a sticky note (rather than drawing on my freshly painted walls). First install the 1×2″ cleats on the back and sides. Then lay the shelf on top and secure it to those cleats. I found that making the shelf approximately 1/2″ shorter than the actual width of my pantry was helpful when sliding them into place. Painter’s caulk in the crevice between the shelf and wall make it almost invisible.
Touch up any wood blemishes and screw divots with painter’s caulk (I used DAP paintable caulk) and let it dry. Go over it with sandpaper, then give each shelf a final high-gloss white coat of paint when you’re done.
For the upper shelves I chose to use an industrial looking “furniture support” pipes. Amazon had a pack of these so I didn’t have to navigate Lowe’s plumbing section.
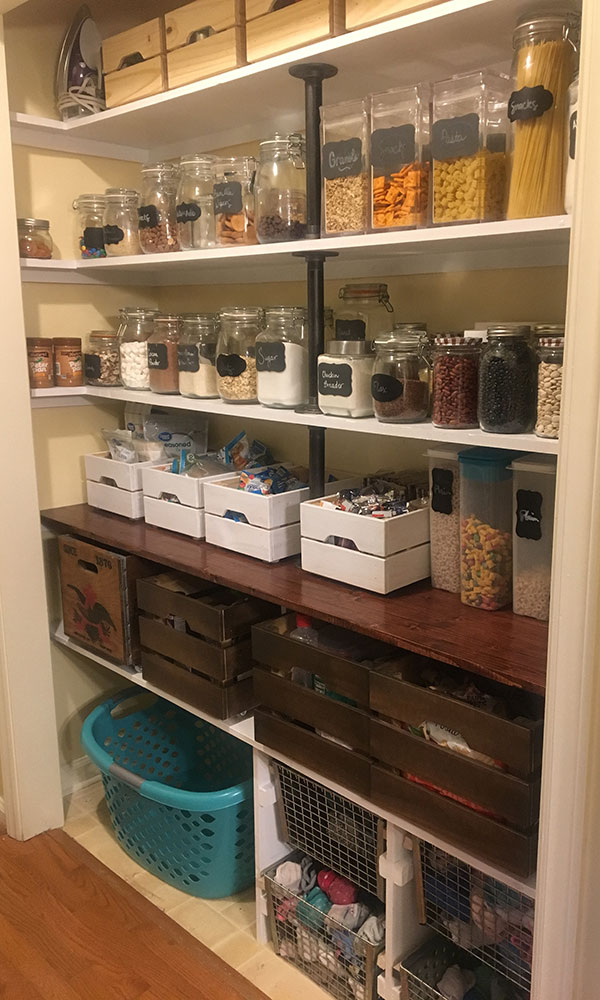
Step 7: Restock
The last step was to put everything back. I wanted the visual calm of uniform containers, so the larger crates were stained darker to match the Budweiser crate. The snack bins along the stained wood shelf were painted high-gloss white. Everything else went back in as-is. (The crates are from IKEA and I highly recommend them). The large crates hold a lot of the cooking supplies that are either heavy (canned foods) or can’t be repackaged easily (stocks, pasta kits, sauces). These larger crates have small caster wheels attached to the bottom so they roll easily from their shelf.
I also recycle my peanut butter jars and honey jars. If you get organic or natural products, they often come in Mason jars rather than plastic, which makes them great for storing dry beans and seeds in the pantry!